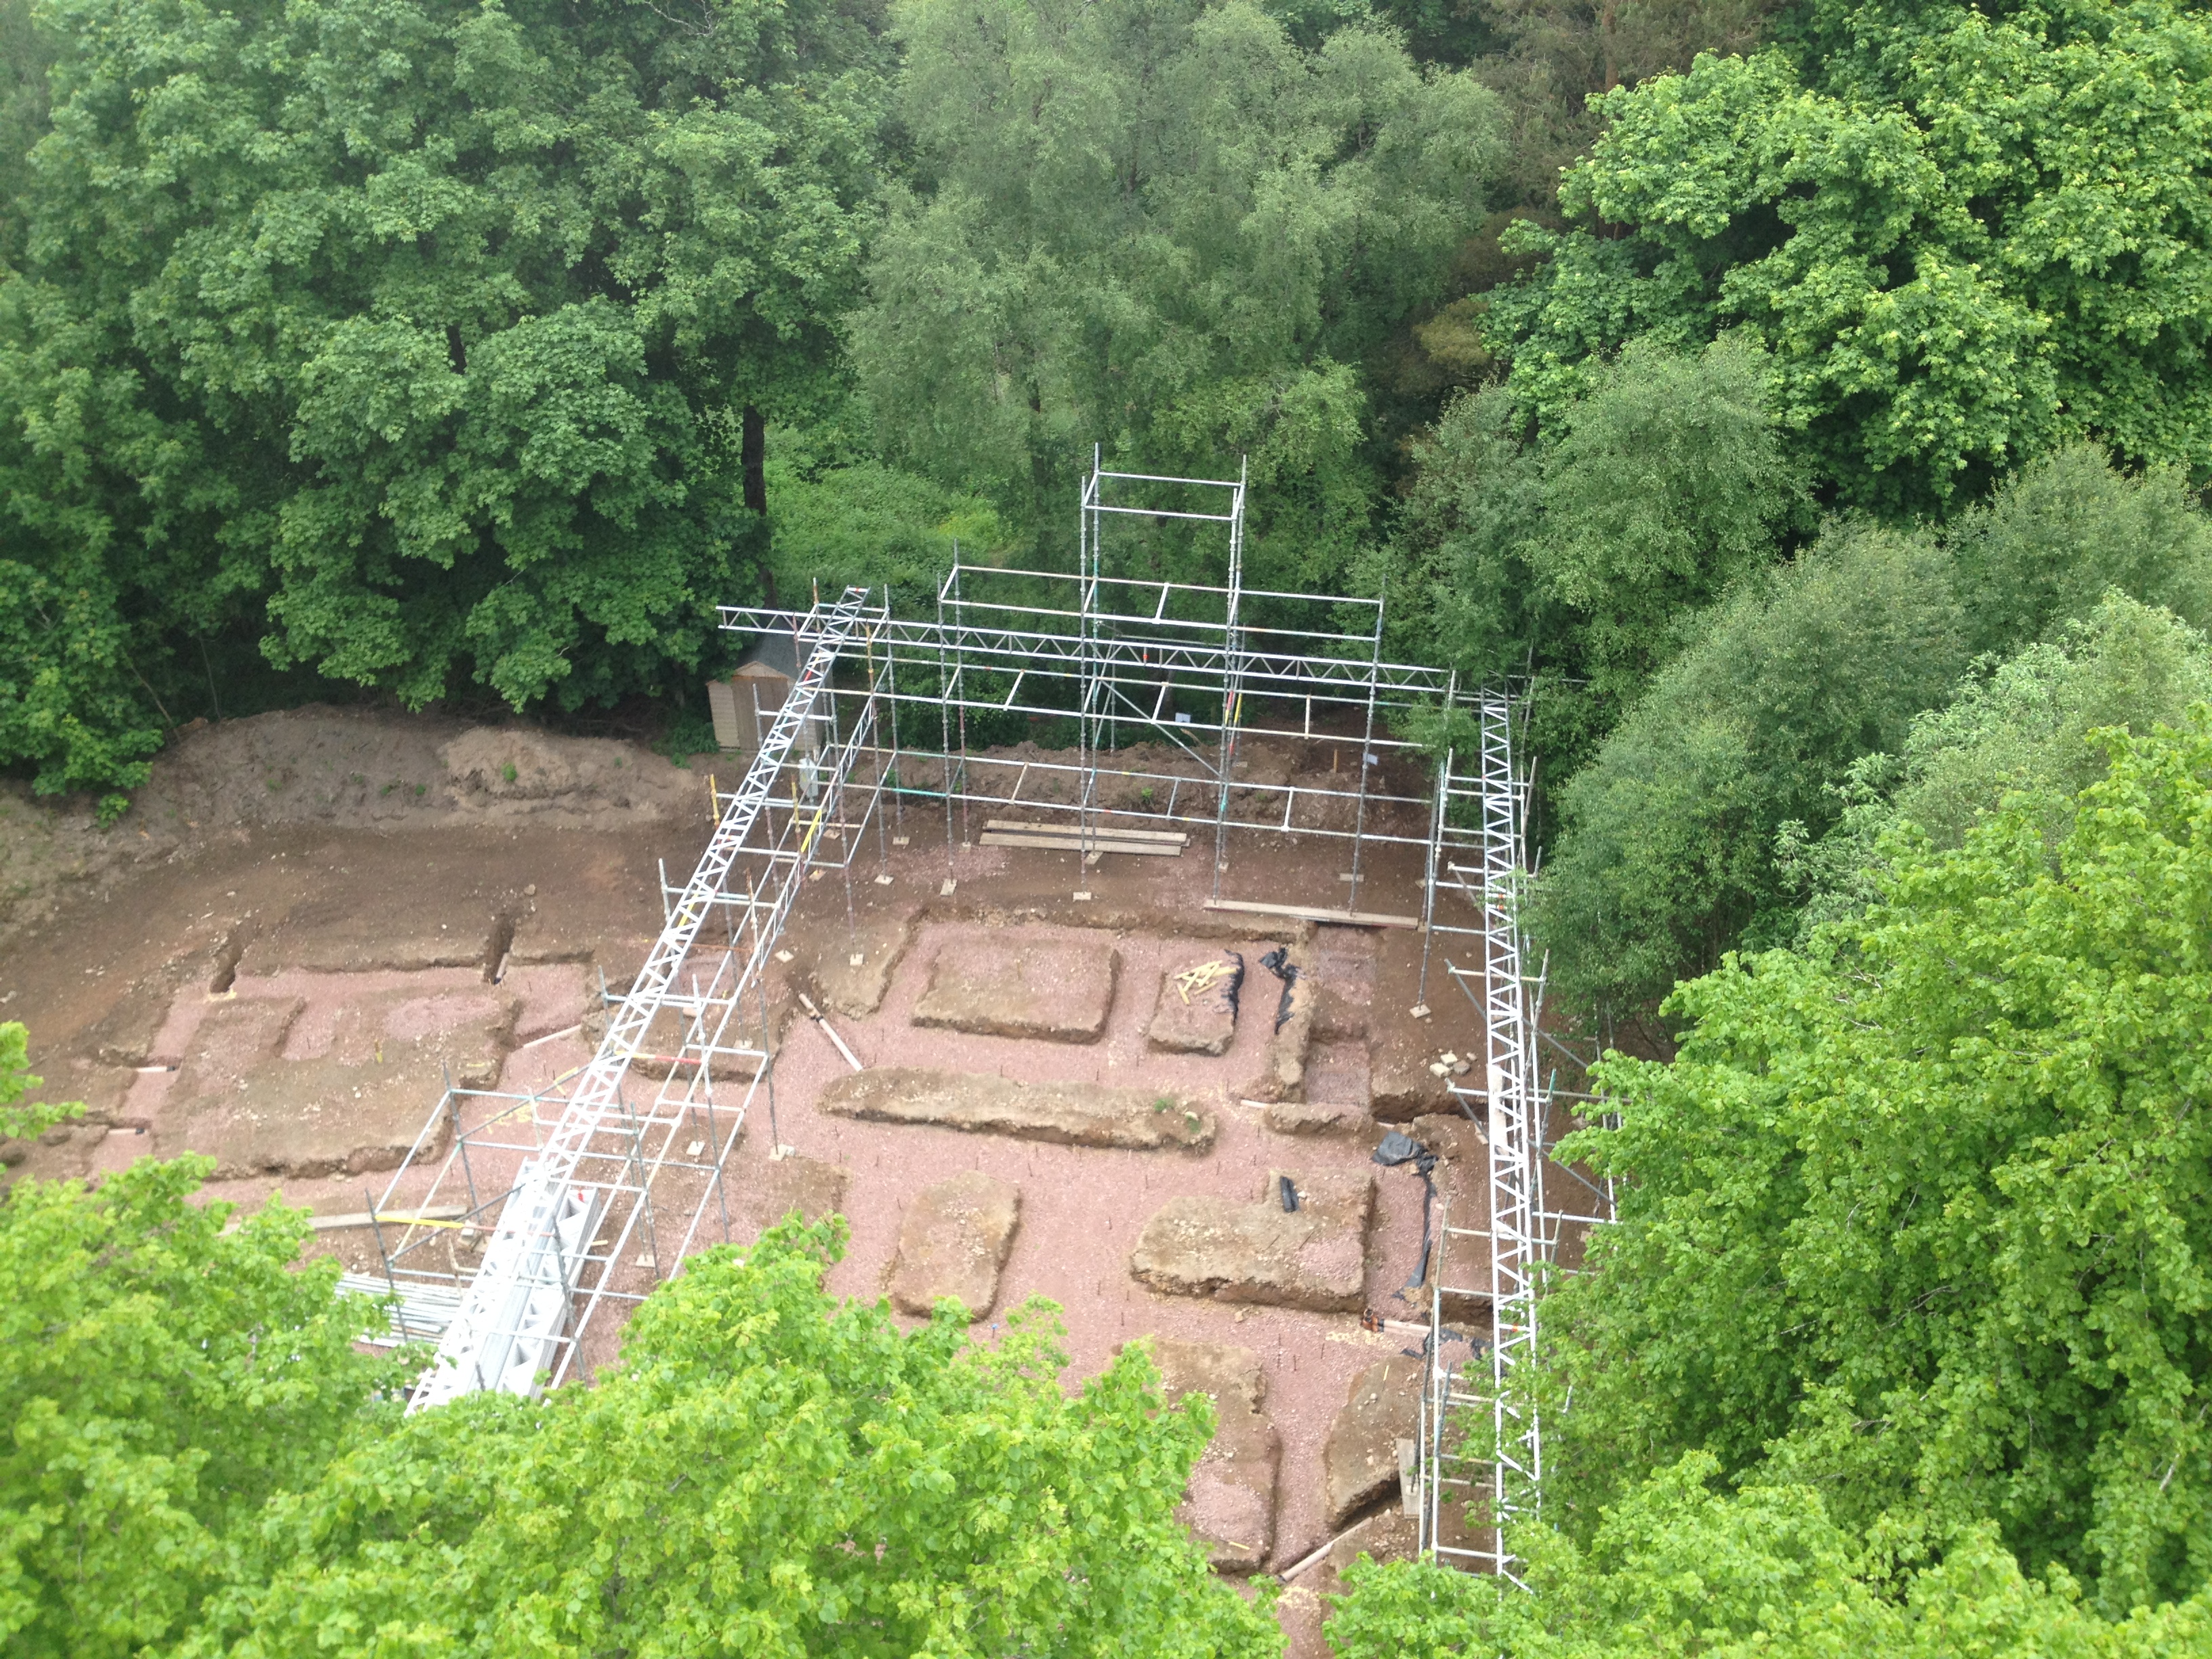
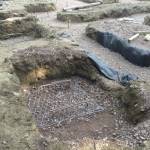
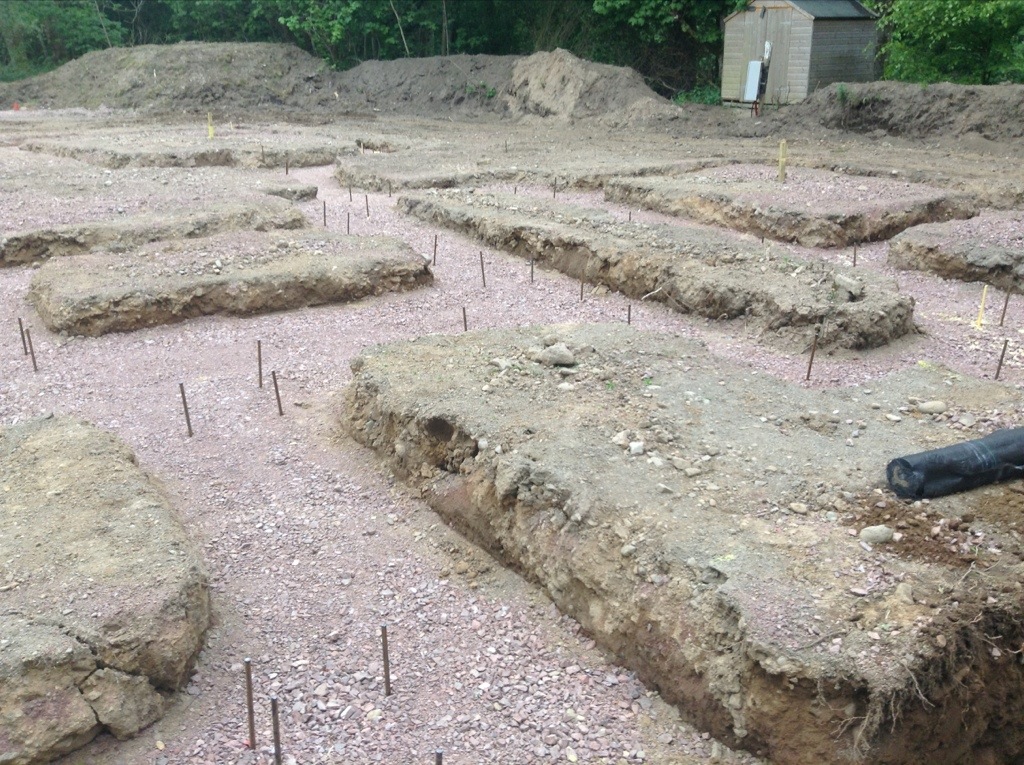
Floods

Digging a land drain

Digging a dry well

We have been very fortunate with the weather this year. Lots of warm weather, dry weather, and even a mild autumn so far. However, there was a week at the end of July when it was very, very, wet. On the 25th, water started collecting around the Peerie Hoose, so S called our groundworks contractor who came and dug a dry well. This was a hole two metres wide on both sides and two metres deep, which was then filled with stones to give the water somewhere to drain. Sorted! Or so we thought…

Continue reading

Foundations finished and scaffolding started

This is a long overdue post. We were away for a week in the middle of June and intended to return to the site soon after. But delays in securing our stonemason means that we’re still in Edinburgh. Not to worry, we will be back down on Sunday, and full steam ahead on Monday when the building of the plinth wall starts.

In the meantime, I thought I’d post some photos from when we were last down at the beginning of June. We (well, Scott and his team) finished off the foundations and construction of the scaffolding started. It will be tented scaffold so that we can work even if it’s raining. The roof wasn’t finished before we left, so no photo of that, but it is apparently all up now and waiting for us!

Continue reading

Pins, pipes, and un petit problème

Yesterday, we arrived back on site. It was great to be back, a warm sunny day, and the internet connection is now live!

We’re only here for a week, but there are a few key things that need to happen before we return at the end of June for the bulk of the work. First up, the surveyor returned and put marking pins in the ground to show where the walls need to be built. These can’t be moved until the stone wall is up!

Pins as far as the eye can see

Pins as far as the eye can see

This showed up a little problem – one of the foundations was slightly too narrow.

Continue reading

From trench to foundation

The nearly-complete foundations.

The nearly-complete foundations. (They don’t spread out around the dumper on the top-right, that is just the remains of the aggregate pile.)

Over the course of three days, the trenches were filled with Type 1 aggregate. Luckily the weather was much improved from the beginning of the week – both warmer and with a couple very sunny days. The aggregate is deposited in 150mm rises and then packed down with a ‘wacker’. There are two variants if this machine – one that looks like a lawnmower and another that looks like a pneumatic drill, both with plates on the bottom that vibrate up-and-down. Both types were used in our case, and resulted in a closely-packed foundation, the cross-section of which can be seen in the previous post about aggregate.

The result is about 700mm of packed aggregate with a solid and level surface. The latter is thanks to an electronic measuring stick they have which ensures the surface is truly level, not just following the surface of the surrounding land which falls away.

Continue reading

Lots of little stones

Cross section of our foundations.

Cross section of our foundations.

Our structural engineer specified MOT Type 1 Sub-Base aggregate for the foundations. It’s a highly-specified aggregate in terms of particle sizes with well understood compression rates and characteristics. While it may have been possible to get by with aggregate of a more random composition (for instance a 6F2), it was important that we were certain the foundations would work – obviously they can’t be changed later on and have a significant impact on whether the house stays up properly. By using Type 1 Sub-Base, our engineer was certain that the (very heavy) cob walls will be properly supported.

Continue reading

Dig!

Wednesday (15th May) was the day the digging proper started. By the end of the day, the trenches for the main house foundations had all been dug out. We are using ‘rubble trench’ foundations which involves digging a trench along the lines of all the outside walls and interior cob walls. (Though the walls will be thick, the foundations are significantly wider.) The trench is then filled with aggregate which is packed down and a low stone wall built on top. The cob will be built directly on the stone wall. This type of foundation avoids the need for concrete or cement. It is quite something to see the layout of the house physically, see the actual ground it will sit on, and to be able to walk in the paths of the walls.

Susan going to inspect the trenches

Susan going to inspect the trenches

Continue reading

Are you still building a house?

When we’ve run into people from Wiston Lodge, this (or some variant) is a question we’ve been asked several times over the months since we purchased our plot of land. And it has been months. When walking around the area, they’d see our bit of land and it was unchanged (until quite recently) since before we bought it in March 2010.

Our plot on 9 May 2010

Looking south over our land on 9 May 2010.

Naturally people we knew in the area were curious why we seemed to be doing nothing. We knew there was a lot to do before the actual building process started (a rough estimate I’d heard is ⅓ preparation/logistics planning, ⅓ building, ⅓ fitting out/finishing). But what has been the biggest lesson so far is how much has to be done before we even have initial design sketches. We thought it would be as simple as, “choose an architect, tell them what we want, get some designs.”

Continue reading